Patio Paver Installers in My Area Find the Best
Patio Paver Installers in My Area: Finding the right team for your dream patio can feel overwhelming. This guide simplifies the process, walking you through everything from finding qualified installers and planning your design to understanding costs and ensuring long-term patio beauty. We’ll cover essential questions, offer practical tips, and help you navigate the world of patio paver installation with confidence.
From initial design concepts to choosing the perfect pavers and managing the installation process, we’ll equip you with the knowledge to make informed decisions. We’ll also explore different paver materials, cost breakdowns, and maintenance strategies to ensure your new patio remains stunning for years to come. Let’s get started on creating your perfect outdoor space!
Local Installer Search

Source: baybrickpavers.com
Finding the right patio paver installer for your project can feel overwhelming, but with a little planning, you can easily locate reputable professionals in your area who meet your needs and budget. This section will guide you through the process of finding and comparing local installers, focusing on efficient search methods and transparent pricing information.
Local Installer Search Interface Design
A user-friendly search interface should prioritize ease of use and comprehensive filtering options. Imagine a website with a prominent search bar where users enter their zip code or city and state. Below the search bar, a series of dropdown menus would allow users to filter results based on specific service types. These service types could include “Installation,” “Repair,” “Design,” and “Cleaning/Maintenance.” Additional filters might include minimum and maximum price ranges, customer rating thresholds (e.g., 4 stars or higher), and the ability to view installers with specific certifications or licenses. The results page would display a list of installers, each with a brief description, contact information, and a link to their profile page with more detailed information, including photos of past projects and customer reviews.
Patio Paver Installer Price Comparison
Pricing for patio paver installation varies greatly depending on several factors, including the size of the area, the type of pavers used, the complexity of the design, and the installer’s experience. Below is a sample comparison table illustrating potential price ranges for three fictional local installers. Remember to always get multiple quotes before making a decision.
| Installer Name | Service Offered | Price Range | Customer Reviews Summary |
|---|---|---|---|
| Stoneworks Landscaping | Installation, Design | $10-$15 per square foot | 4.5 stars – “Excellent work, highly recommend!” |
| PavePro Patio Solutions | Installation, Repair | $8-$12 per square foot | 4 stars – “Professional and efficient.” |
| Artistic Paving | Installation, Design, Repair | $12-$18 per square foot | 4.8 stars – “Exceptional attention to detail.” |
Benefits of Locally Sourced Pavers
Using locally sourced pavers offers several advantages. Firstly, it supports local businesses and reduces the environmental impact associated with long-distance transportation. Locally sourced materials often mean lower transportation costs, potentially leading to a more competitive price for the overall project. Furthermore, local suppliers frequently offer a wider selection of pavers and can provide personalized assistance with material selection and project design. This direct access to suppliers can also streamline the procurement process and reduce potential delays. Finally, using locally sourced materials contributes to a more sustainable and environmentally conscious approach to landscaping.
Installer Qualifications and Experience
Source: thumbtack.com
Choosing the right patio paver installer is crucial for a beautiful and long-lasting outdoor space. The installer’s qualifications and experience directly impact the project’s quality, timeline, and overall cost. Don’t underestimate the importance of thorough research before making your decision.
Finding a qualified installer involves looking beyond just low prices. Consider their expertise, track record, and commitment to customer satisfaction. A skilled installer will not only create a stunning patio but also ensure its durability and longevity.
Essential Installer Qualifications and Certifications
It’s important to verify that your chosen installer possesses the necessary qualifications and certifications to guarantee a professional and high-quality installation. This helps protect your investment and ensures the job is done correctly.
- Licensing and Insurance: Check if the installer holds the necessary licenses to operate legally in your area and if they carry general liability and workers’ compensation insurance. This protects you from potential financial liabilities in case of accidents or damages.
- Industry Certifications: Look for certifications from reputable organizations like the Interlocking Concrete Pavement Institute (ICPI). These certifications demonstrate a commitment to industry best practices and adherence to quality standards.
- References and Reviews: Request references from previous clients and check online reviews on platforms like Yelp, Google My Business, or Angie’s List. Positive feedback indicates a track record of satisfied customers and reliable service.
- Detailed Contract: Ensure the contract Articulates the scope of work, materials used, payment schedule, and warranty. A well-defined contract protects both parties and minimizes misunderstandings.
Comparing Installer Experience Levels
Experience significantly influences project outcomes and costs. Let’s compare three hypothetical installers:
| Installer | Years of Experience | Project Quality | Cost | Potential Issues |
|---|---|---|---|---|
| Installer A | 1 year | Potentially lower quality, more prone to errors | Potentially lower, but risks higher long-term costs due to rework | Inconsistent workmanship, missed deadlines, material waste |
| Installer B | 5 years | Good quality, fewer errors | Moderate cost, balanced between quality and price | Minor delays possible, potential for minor design flaws |
| Installer C | 15 years | High quality, minimal errors, attention to detail | Higher cost, reflecting expertise and experience | Highly unlikely to encounter significant issues; excellent project management |
While a less experienced installer might offer lower initial costs, the risk of errors and rework can ultimately increase the total project expense. A highly experienced installer will likely deliver a superior result, though at a higher initial cost.
Examples of Successful Local Projects
Local installer, “Pave Paradise,” recently completed a challenging patio project involving a significant slope. They addressed this by implementing a sophisticated drainage system and using specialized pavers designed for uneven terrain. The result was a stunning patio that seamlessly integrated with the natural landscape.
Another local installer, “Stoneworks,” overcame a tight deadline for a large commercial project by employing a larger crew and optimizing their workflow. Their proactive approach ensured timely completion without compromising the quality of the installation. The project featured a complex geometric design, successfully executed with precision.
Remember, a higher initial cost from an experienced installer often translates to fewer headaches, a superior final product, and a longer-lasting patio.
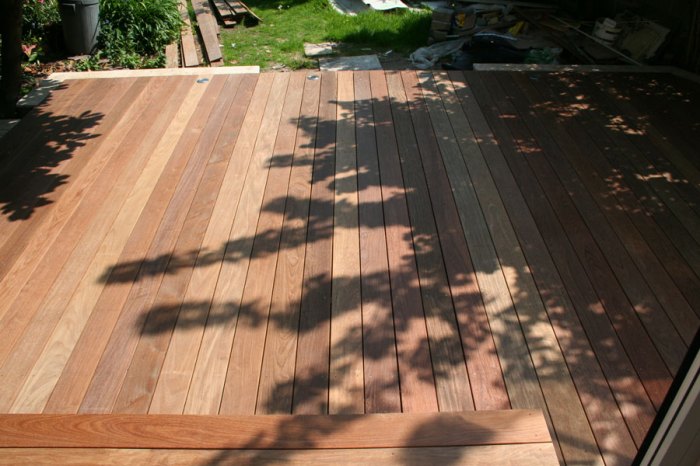
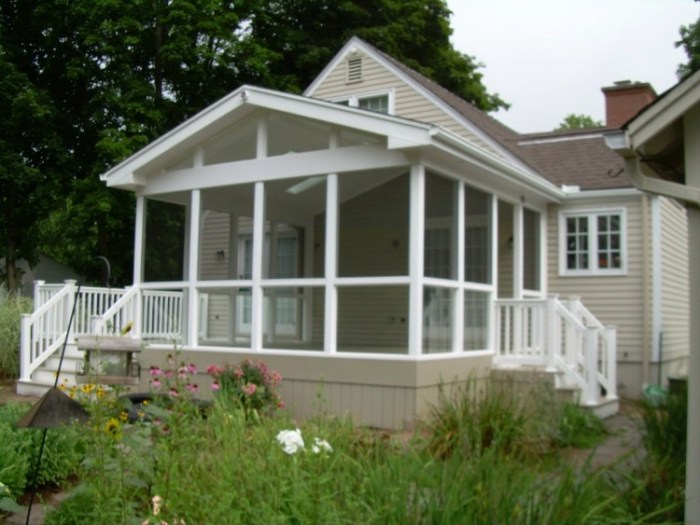
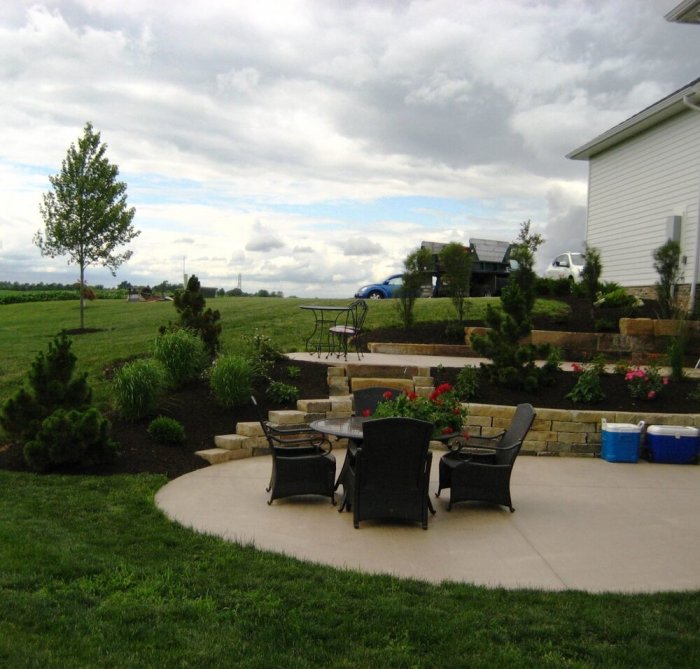
Project Planning and Design

Source: baybrickpavers.com
Planning your patio paver project is crucial for a successful and beautiful outcome. Careful consideration of design, materials, and site preparation will ensure a long-lasting and enjoyable outdoor space. This section details the steps involved, provides design examples, and offers a guide for site preparation.
Design Considerations and Examples
Choosing the right design involves several key factors: the size and shape of your patio, the surrounding landscape, your style, and the type of pavers you select. Here are three example designs to inspire your project.
- Design 1: Classic Rectangular Patio This design features a simple rectangular layout using standard-sized pavers in a neutral color like gray or beige. The clean lines and simple design create a timeless and elegant look. Materials might include concrete pavers with a textured surface for slip resistance. This design is perfect for smaller spaces or those who prefer a minimalist aesthetic.
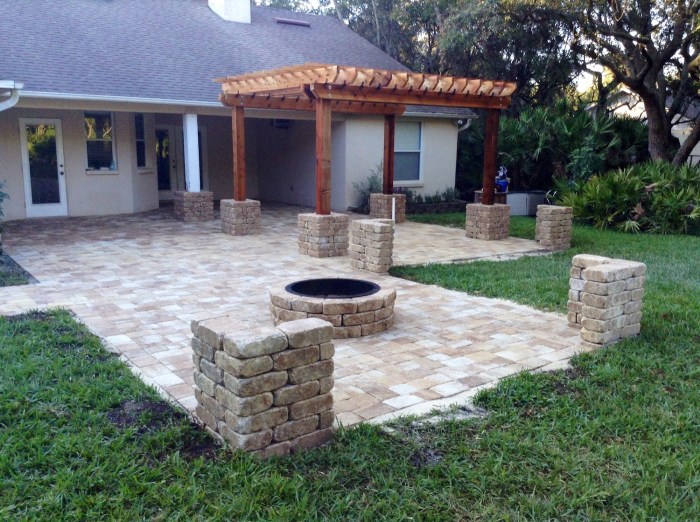
- Design 2: Curved Patio with Accents This design incorporates a curved shape for a more natural and flowing look. The main pavers could be a warm brown tone, perhaps tumbled concrete, with contrasting border pavers in a lighter color or a different material, such as natural stone. A focal point, such as a built-in fire pit or water feature, could enhance the design. This design works well in larger spaces and provides a more sophisticated feel.
- Design 3: Geometric Patterned Patio This design utilizes different-sized and shaped pavers to create an intricate geometric pattern. Consider using a combination of materials, such as concrete pavers in different colors or shapes, to create visual interest. A herringbone or basketweave pattern is popular for this style. This design is best suited for those who appreciate a more complex and visually stimulating patio.
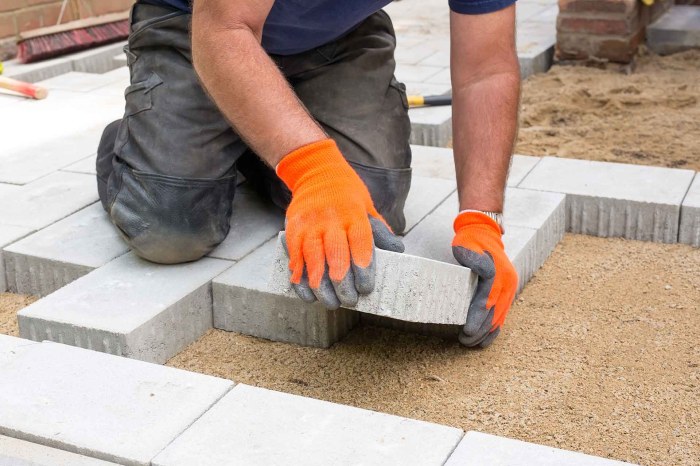
Site Preparation for Patio Paver Installation
Proper site preparation is essential for a stable and long-lasting patio. Neglecting this step can lead to settling, cracking, and uneven surfaces. The following steps are crucial:
- Clear the Area: Remove all existing vegetation, debris, and any other obstacles from the designated patio area. This includes removing grass, weeds, rocks, and roots.
- Excavate and Level the Ground: Excavate the soil to a depth of at least 4-6 inches, depending on the paver thickness and the type of base material being used. Use a level to ensure the ground is perfectly flat and level. Any significant slopes or unevenness should be addressed at this stage. For example, if the ground slopes, you might need to bring in fill dirt to create a level base.
- Compact the Base: After leveling, compact the soil thoroughly using a hand tamper or a mechanical compactor. This is crucial to prevent settling and ensure a stable base for the pavers. Proper compaction ensures the base will support the weight of the pavers and prevent future settling.
- Install a Base Material: A layer of compacted gravel or crushed stone (typically 2-4 inches thick) is placed over the compacted soil. This provides excellent drainage and further enhances stability. This layer should also be compacted to create a solid and level base. The gravel base acts as a drainage layer and helps distribute weight evenly.
- Install an Edging: Install landscape edging around the perimeter of the patio area. This will help contain the pavers and prevent them from shifting or settling. Edging provides a neat and professional finish and helps maintain the shape of the patio.
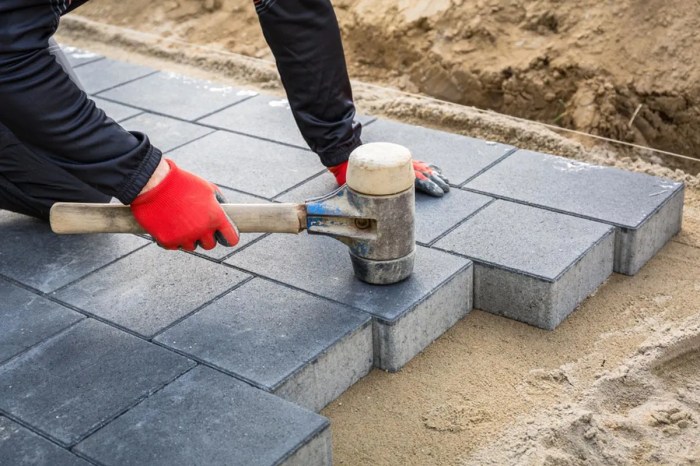
- Lay the Pavers: Once the base is prepared, the pavers can be laid according to the chosen design. Maintain consistent spacing between pavers and ensure they are level and flush with each other. Use a rubber mallet to gently tap the pavers into place.
- Fill the Joints: After laying the pavers, fill the joints between them with polymeric sand. This will help stabilize the pavers, prevent weed growth, and create a clean and professional finish. Polymeric sand is a specialized sand that hardens when wet, creating a strong bond between the pavers.
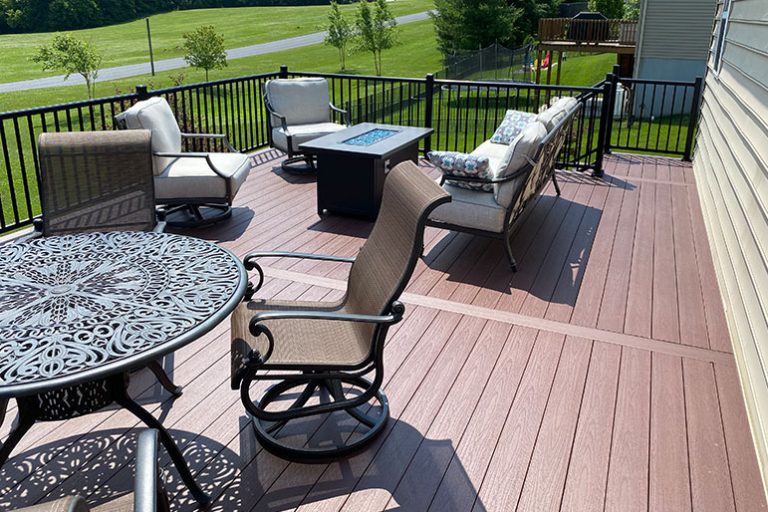
Materials and Costs
Source: Squarespace-cdn.com
Planning a patio paver project involves understanding the associated costs. This includes not only the pavers themselves but also labor, permits, and any necessary site preparation. Accurate budgeting ensures a smooth and stress-free installation process.
A typical patio paver installation project involves several key cost components. These costs can vary significantly depending on factors such as location, project size, material choices, and the complexity of the design. Understanding these components allows for better financial planning.
Cost Breakdown of a Typical Patio Paver Installation
The following provides a sample cost breakdown for a 100 square foot patio project in a typical suburban area. Remember that these are estimates and actual costs may vary.
| Cost Item | Estimated Cost | Notes |
|---|---|---|
| Materials (Pavers, Sand, Base Gravel, Edging) | $1,500 – $3,000 | Cost varies greatly depending on paper type and quality. |
| Labor | $1,000 – $2,500 | Labor costs depend on the installer’s experience and location. |
| Permits | $100 – $500 | Permit costs vary by location and project complexity. |
| Site Preparation (Excavation, Compaction) | $300 – $800 | This cost depends on existing ground conditions. |
| Total Estimated Cost | $2,900 – $6,800 | This is a broad range; precise costs require a detailed quote from a contractor. |
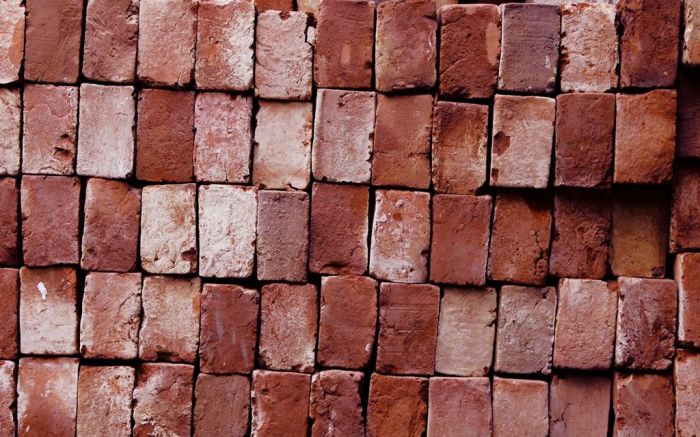
Comparison of Paver Material Costs and Effectiveness
Different paver materials offer varying levels of durability, maintenance requirements, and aesthetic appeal. The initial cost often reflects these differences, but long-term considerations are crucial for cost-effectiveness.
| Paver Material | Cost per Square Foot (Estimate) | Durability | Maintenance | Aesthetic Appeal |
|---|---|---|---|---|
| Concrete Pavers | $3-$8 | High; resistant to cracking and fading | Low; occasional cleaning | Versatile; many colors and styles available |
| Brick Pavers | $6-$12 | Very High; extremely durable and long-lasting | Low; occasional cleaning and repointing | Classic and timeless appeal |
| Natural Stone Pavers | $10-$20+ | High; but varies depending on the stone type | Moderate; may require sealing and occasional cleaning | Unique and elegant appearance |
Calculating the Number of Pavers Needed
Accurately calculating the number of pavers prevents material shortages or excess waste. This calculation requires considering the patio’s dimensions and the paver’s size.
For a rectangular patio, the calculation is straightforward:
Area = Length x Width
Once you know the area in square feet, divide it by the area covered by a single paver (typically given in square feet per paver on the packaging). This gives you the approximate number of pavers needed. Always add 5-10% extra to account for cuts, breakage, and potential design adjustments.
For irregularly shaped patios, break the area into smaller, easily calculable shapes (rectangles, triangles) and sum their areas. A professional installer can help with more complex designs.
Example: A rectangular patio measuring 10 feet by 10 feet has an area of 100 square feet. If each paver covers 1 square foot, you’ll need approximately 100 pavers. Adding 10% extra, you should order about 110 pavers.
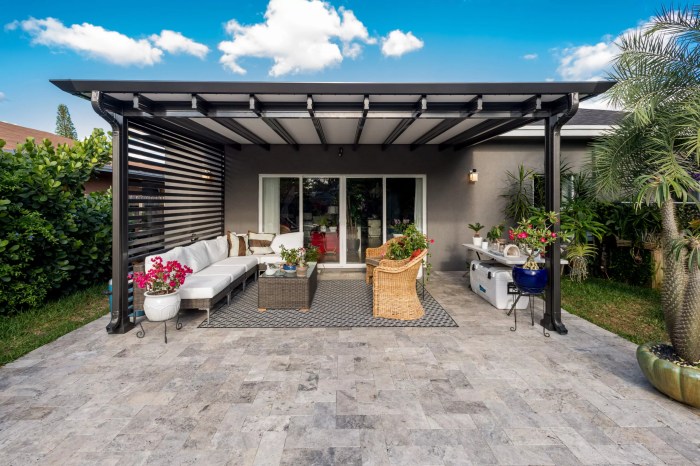
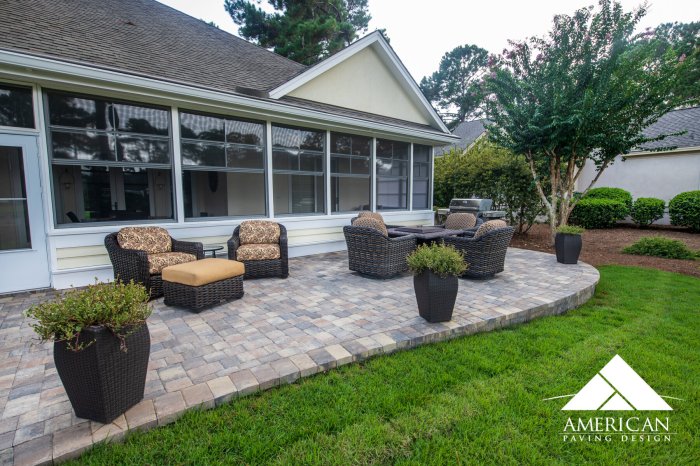
Post-Installation Care and Maintenance
Source: cloudinary.com
Your beautiful new patio is complete! Now, let’s talk about keeping it looking great for years to come. Proper care and maintenance are key to extending the lifespan of your pavers and preventing costly repairs. A little preventative care goes a long way.
Regular maintenance isn’t just about aesthetics; it’s about preserving the structural integrity of your patio. Neglecting maintenance can lead to problems like cracking, settling, weed growth, and staining, ultimately shortening the life of your investment.
Cleaning Your Pavers
Keeping your pavers clean is the first line of defense against damage and deterioration. Regular sweeping removes loose debris like leaves, dirt, and sand, preventing it from settling into the joints and causing problems. For more stubborn stains, a simple solution of mild detergent and water, applied with a soft-bristled brush, is usually sufficient. Always rinse thoroughly with clean water afterward to prevent soap residue from dulling the pavers’ appearance. For tougher stains like oil or grease, consider using a specialized paver cleaner, following the manufacturer’s instructions carefully. Power washing can be effective but use caution; too much pressure can damage the pavers or erode the jointing sand. A lower pressure setting and a wide fan nozzle are recommended.
Sealing Your Pavers
Sealing your pavers provides an extra layer of protection against staining, weathering, and freeze-thaw damage. A sealant creates a barrier that prevents moisture from penetrating the pavers, reducing the risk of cracking and discoloration. Different sealants are available, some offering color enhancement, while others provide a more natural look. It’s crucial to choose a sealant specifically designed for pavers and follow the manufacturer’s application instructions carefully. The frequency of resealing depends on the type of sealant, the climate, and the level of traffic on your patio. Generally, resealing every 2-3 years is a good rule of thumb, but always check the sealant manufacturer’s recommendations.
Preventing Cracking and Settling
Cracking and settling are common issues that can significantly impact the appearance and functionality of a patio. Regularly inspect your pavers for any signs of settling or movement. Address minor issues promptly to prevent them from escalating. If you notice any settling, carefully lift the affected pavers and re-compact the base material before resetting them. Proper installation techniques, including a well-compacted base, are crucial in preventing these problems from the outset. Avoid driving heavy vehicles on your patio, as this can cause significant stress and lead to cracking.
Weed Control
Weed growth between pavers is unsightly and can disrupt the integrity of the jointing sand. Regular weeding is essential to maintain a clean and attractive patio. Consider using a weed barrier fabric under the pavers during installation to minimize weed growth. For existing weeds, carefully remove them by hand or use a specialized weed killer designed for pavers, taking care not to damage the pavers themselves.
Winter Protection
In colder climates, ice and snow can cause damage to pavers. Regularly clear snow and ice to prevent build-up and avoid using harsh chemicals that can damage the pavers or sealant. Consider using a non-corrosive de-icer if necessary.
Finding Reviews and Testimonials: Patio Paver Installers In My Area
Source: shortpixel.ai
Choosing the right patio paver installer is a big decision, that impacts both the look and longevity of your outdoor space. Before committing to a project, thoroughly researching potential installers is crucial. A significant part of this research involves examining reviews and testimonials from previous clients. These provide invaluable insights into the installer’s work ethic, professionalism, and overall quality of service.
Finding reliable sources for reviews and testimonials is key to making an informed decision. Don’t just rely on a single source; cross-referencing information from multiple platforms will give you a more comprehensive picture.
Reliable Sources for Reviews
Several avenues can help you find authentic reviews and testimonials. Checking multiple sources helps you avoid biased or fabricated feedback. Look at sites dedicated to reviewing local businesses, such as Yelp, Google My Business, Angie’s List, and Nextdoor. Additionally, consider checking the installer’s website directly; many reputable companies showcase client testimonials there. Finally, ask for references from the installer; they should be happy to provide contact information for satisfied past clients.
The Importance of Considering Both Positive and Negative Reviews
While positive reviews paint a rosy picture, negative reviews offer equally valuable information. Positive reviews often highlight excellent communication, timely completion, attention to detail, and overall customer satisfaction. Negative reviews, on the other hand, can reveal potential problems like poor communication, missed deadlines, subpar workmanship, or unresolved disputes. A balanced perspective, considering both types of reviews, provides a more realistic expectation of the installer’s capabilities and potential pitfalls. Ignoring negative reviews can lead to unpleasant surprises during your project.
Sample Customer Reviews, Patio paver installers in my area
| Review Type | Review Excerpt | Key Aspects Highlighted |
|---|---|---|
| Positive | “From the initial consultation to the final cleanup, [Installer Name] was professional, responsive, and meticulous. The patio is absolutely beautiful, and we’re thrilled with the results. Highly recommend!” | Professionalism, responsiveness, attention to detail, high-quality results, and overall satisfaction. |
| Negative | “The installer arrived late, the work wasn’t completed on schedule, and there were several noticeable flaws in the paver installation. Communication was poor, and resolving the issues was a hassle.” | Poor communication, missed deadlines, subpar workmanship, and difficulty resolving issues. |
Final Wrap-Up

Source: hamiltonoutdoorworx.org
Building your dream patio is an exciting project, and choosing the right patio paver installers is crucial for success. By carefully considering the factors Artikel in this guide – from qualifications and experience to cost and long-term maintenance – you can confidently select a team that will bring your vision to life. Remember to prioritize communication, thorough planning, and realistic expectations to ensure a smooth and satisfying installation process. Enjoy your beautiful new patio!